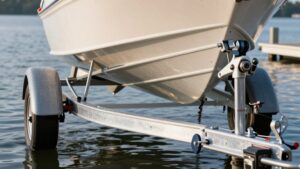
How to Tow a Car Behind an RV: Flat Tow, Dolly or Trailer
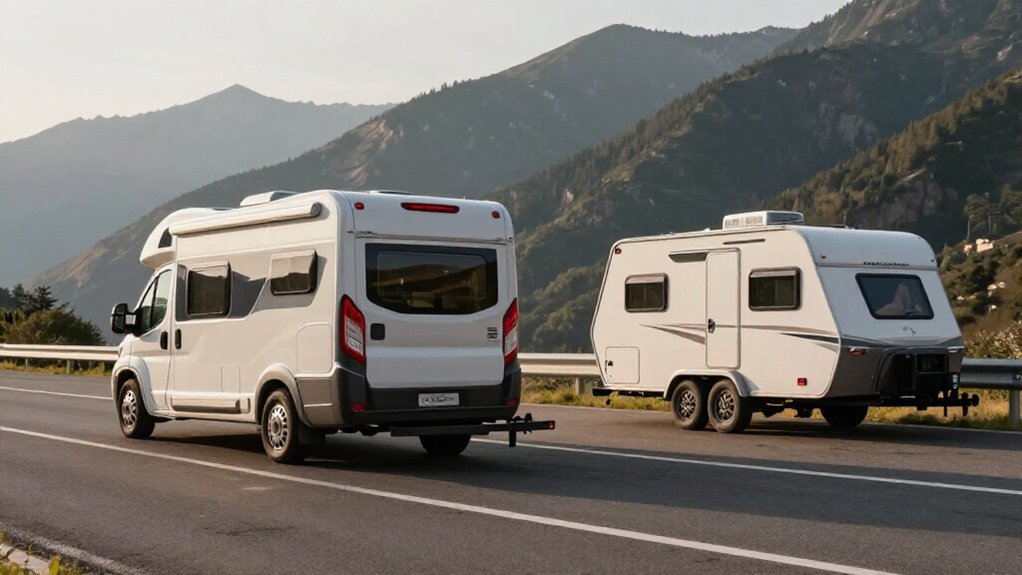
You can tow a car behind your RV by flat towing it, using a dolly, or carrying it on a trailer. Choose flat towing only if the vehicle’s year, model, and trim are approved; use a dolly for many front-wheel-drive cars, or a trailer when needed.
Check loaded vehicle weight against RV capacity, then connect rated equipment, safety cables, lights, and brakes as instructed.
Plan routes to avoid reversing, and follow setup steps below.
Compare Three Towing Methods
Choosing among flat towing, a tow dolly, and a trailer depends on your car’s towing approval, your RV’s capacity, and how much setup and storage you’re willing to manage.
Flat towing keeps all four wheels on the road and needs a tow bar, brake and light wiring, plus an emergency breakaway switch. A dolly lifts two wheels and can suit front-wheel-drive cars, but costs money and takes awkward storage. A trailer carries all four wheels, avoids road tire wear, but adds expense, storage needs, and weight that counts against your RV’s capacity.
Plan for maneuvering with every setup: backing can prompt disconnecting or raise jackknife risk. Dolly setups can be especially awkward in tight spaces. Choose a route and campsite that minimize reversing.
Verify Vehicle Towing Compatibility
Before selecting a towing setup, check your car’s owner’s manual for flat-towing approval for its exact year, make, model, and trim; eligibility can vary between variants. Check the towing procedure too; generic online advice may not account for drivetrain differences.
- If the manual prohibits four-wheel-down towing, choose a dolly or trailer instead. Some cars require major modifications to tow this way.
- If you’re considering a driveshaft disconnect or lubrication system, confirm feasibility and cost through approved vehicle guidance before committing.
- Compare your car’s fully loaded weight, including cargo, with your RV’s rated towing capacity; a 4,300–4,500-pound car may exceed some Class C limits.
Match the method to the drivetrain: a dolly suits many front-wheel-drive cars that can’t have their front wheels on the ground.
Step 1: Inspect the Vehicle’s Tow Points
Once you’ve confirmed your towing method, check the owner’s manual for the designated tow points and make sure they’re approved for your vehicle’s exact year and model. Inspect the mounting locations and confirm you have the right components for your setup: a vehicle-side baseplate for flat towing, or properly rated attachment points on a dolly or trailer. Check brackets and hardware for cracks, bends, corrosion or missing bolts, and verify fasteners meet the manufacturer’s torque specification.
Inspect nearby trim, wiring, hoses and brackets for anything that could snag, rub or become pinched as the assembly moves through turns. Also check that safety-chain points and any breakaway-switch cable routing are correctly mounted; don’t rely on weak or improvised attachment locations before you travel with it.
Step 2: Connect the Tow Bar
With the correct baseplate installed, connect the tow bar at the specified mounting points on the toad and RV, following both manufacturers’ diagrams.
Keep both vehicles aligned on level ground and set their parking brakes before you attach the arms. Seat each arm fully on its pin or latch, then secure it with the supplied locking hardware. Check that every latch engages completely and that the bar sits straight without binding.
Never rely on a partial connection or substitute hardware; use only the parts specified for your setup.
Before moving, connect the RV’s seven-pin plug to the toad’s six-pin connector using a compatible adapter if needed, then test brake lights, turn signals and running lights. Verify the toad’s braking response before departure.
Step 3: Install Safety Cables
Cross the safety cables beneath the tow bar and attach them to the points on the RV and toad. This routing limits the car’s drop and helps keep it connected to your RV if the hitch fails. Use attachment points specified by your tow-bar and vehicle manufacturers, and secure each connection with hardware.
Leave slack for turns, but don’t let cables drag or snag on tires or suspension parts. Keep the breakaway cable separate: connect it to the toad’s attachment point, using a system designed for flat towing.
Before driving, turn the steering left and right to check clearance and tension. Confirm cables can take load without touching ground. At stops, and after a jolt, inspect routing, attachment points, and hardware for damage or looseness.
Step 4: Wire the Toad’s Lights
Next, wire the toad’s lights so its brake lights respond to the RV’s brakes and its turn signals flash with the RV’s. Use a diode kit or approved wiring interface to let the RV control the toad’s lights without backfeeding power. Connect the RV’s 7-pin output to the toad’s 6-pin input with a 7-to-6-pin cord, and verify that each pin maps correctly for tail lights, brake lights, and turn signals.
Install the emergency breakaway switch wiring; keep its cable connection point separate from the safety-chain attachment points. Before driving, test all tail, brake, and turn lights. Correct any mismatch before towing.
At each stop, recheck the plugs and wiring, since a failed connection can leave other drivers without clear signals.
Step 5: Set Tow-Bar Arm Tension
Set both tow-bar arms to the manufacturer’s specified tension when they’re latched to the baseplate. Use your tow-bar manual to find the range, then adjust each tension bolt or knob until its indicator marks align. Don’t rely on feel alone. You want each arm springy but snug, with no slack play.
After tightening, check that the latch pins and lock handles sit in place. Hold the tow-bar head and test for movement; it shouldn’t shift more than minimally by hand. Match tension on both sides so the bar tracks straight and doesn’t pull the baseplate unevenly during turns.
Drive, then recheck arm tension after the first mile and at your next stop. Movement can settle the hardware, so correct any change before continuing.
Step 6: Stow Loose Tow-Bar Pins
Once the tow bar is attached, secure any loose pins in the bar’s built-in storage positions or the manufacturer’s clips so vibration or turns can’t shake them free.
Follow the orientation shown in your tow bar manual; each pin must sit fully in its designated catch point. Before departure, confirm every stored pin is fully engaged and locked. Give each a quick pull-test to make sure it won’t shift.
Rough roads can loosen hardware that isn’t seated. After the first few miles, inspect the pin area again and repeat the check at every stop. If a pin has moved, reseat and secure it before continuing. Loose or misplaced pins can cause misalignment at the tow-bar connection. Keep the pins correctly oriented and accessible for reconnection.
Verify Steering Wheel Unlocks
Before towing, check your vehicle’s owner’s manual for the exact steering-wheel and ignition procedure.
Don’t rely on general towing guides: requirements can vary by model, trim, and year. For many flat-tow-approved cars, you’ll need to release the steering wheel, often by selecting accessory or on mode. Follow the manual’s instructions for the key position and gear setting, including Neutral if required.
Check whether the same procedure applies when towing on a dolly or trailer.
Before departure, set the required ignition state and confirm the wheel stays released; it must not engage a steering lock during motion. Don’t assume it’ll remain free just because it turned at a standstill. If you can’t release it as directed, or the required ignition setting isn’t possible, plan to transport the car on a dolly or flatbed instead for your towing setup.
Brake System Check
A reliable brake check starts with your toad’s owner’s manual, which lists any model-specific steps for preparing its brakes for flat towing. Follow those instructions; brake activation varies by model. Connect the RV brake controller and lighting wiring, often the RV’s 7-pin to your toad’s 6-pin, and test that braking activates the toad’s brakes. Confirm brake and turn signals illuminate before departure.
| Check | Action |
|---|---|
| Controller | Test braking response |
| Breakaway | Test switch; separate cable point |
| Lights | Confirm brake and turn signals |
| Connections | Inspect routing, mounting, slack, chafing |
At stops, inspect connections for secure mounting, routing, slack, or chafing; damage can prevent braking response.
Install and test the breakaway switch, routing its cable to a separate point from the safety chains. Don’t tow until checks pass.
Lubricate Tow-Bar Pivot Points
With the brake system tested, check the tow-bar pivot points for rust, looseness, or uneven movement; worn pins or bushings need repair, not grease.
After hooking up your tow bar, apply the manufacturer-recommended lubricant to its main joints and bearings. Use the lubricant specified for metal-on-metal pivots, and confirm the arms swing freely without binding. Don’t over-grease: excess lubricant attracts dust and road grime, forming a paste that can increase wear and restrict movement.
Wipe away residue so you can spot leaks or abnormal joint motion.
Include pivot lubrication in your normal pre-departure checks, then reapply it at regular stops on longer trips. Grit and grime can contaminate fittings or dry out lubricant. If a joint still moves unevenly, stop and address it before towing.
Conclusion
Before you tow a car behind your RV, choose the right method and confirm the vehicle is approved for it. Check tow points, secure the tow bar and safety cables, stow loose pins, and make sure the steering wheel releases. Test the supplemental brake system, and lubricate tow-bar pivot points as needed.
Don’t skip any step: your car, RV, and everyone on the road depend on a secure setup. If anything seems uncertain, stop and consult your vehicle and equipment manuals.