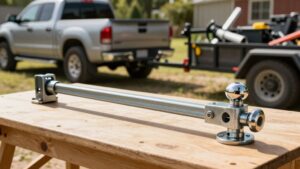
How to Measure Ball Mount Drop or Rise for a Level Trailer
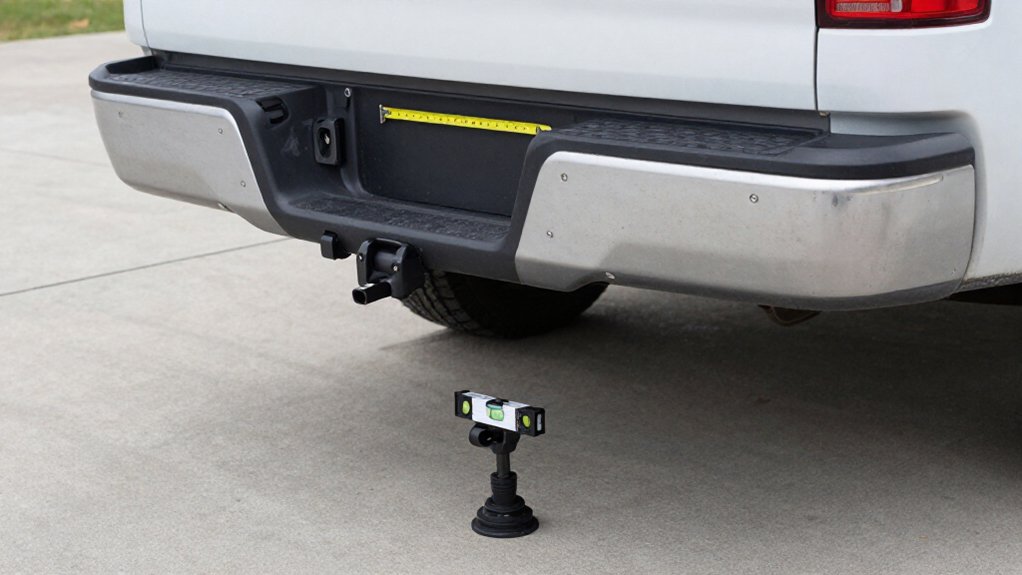
On level ground, load your trailer for travel and chock its wheels.
Measure from ground to the receiver’s inside top edge, then to the bottom of the level coupler.
Subtract coupler height from receiver height: positive means drop; negative means rise.
Fit the ball mount, hitch up, and recheck trailer levelness under load, accounting for truck squat.
Confirm your hardware and chain slack before towing.
Further checks can help keep your setup safe and stable.
Target Coupler-to-Receiver Difference
To find the target coupler-to-receiver difference, measure from the ground to the receiver opening’s upper inside edge, then from level ground to the bottom of the trailer coupler with the trailer loaded. Use a documented reference edge if your setup specifies one; keep both measurements in inches.
Subtract the coupler height from the receiver height: receiver height − coupler height. A positive result gives the required drop; a negative result gives the required rise. For example, if your receiver measures 23 inches and the loaded coupler bottom measures 19 inches, 23 − 19 equals 4 inches of drop to level the connection.
Select a ball mount with the needed adjustment, then recheck trailer level while hitched; a 1–2-inch mismatch can impair handling and control.
Measure on Level Ground
Park the tow vehicle and trailer on level ground, and measure the trailer with its full load; don’t rely on factory-height estimates.
- Measure the truck’s hitch receiver from the ground to the inside top edge of the receiver tube, or use the hitch’s specified reference point.
- Measure coupler height from the ground to the coupler’s bottom while the trailer sits level and fully loaded.
- Subtract coupler height from receiver height. A positive result means you need that many inches of drop; a negative result means you need that many inches of rise.
Set the ball mount to the calculated position, then hook up and recheck the connection level to confirm the adjustment. Use a level surface and measure vertically; a sloped pad or unloaded trailer can distort readings and compromise alignment.
Before towing, verify the loaded trailer remains level and the ball mount is secured at the manufacturer’s specified height and orientation.
Step 1: Chock the Trailer Wheels
Once the trailer is settled in its normal loaded condition on level ground, chock its wheels before checking coupler height. Place sturdy chocks against both sides of at least one wheel on each axle position the trailer could roll toward. If the trailer sits at a slight angle, use chocks on the downhill side as well.
Keep the chocks engaged throughout measurements so the suspension and coupler can’t shift. Confirm the coupler remains at its actual towing height, then measure from the ground to the bottom of the coupler. Recheck that the trailer hasn’t changed height after you position it for hitching.
Work from the sides; wheel chocks must prevent movement. Never crawl under or between the truck and trailer to take a measurement.
Step 2: Load Trailer for Travel
Load the trailer with the same cargo, water, and gear you’ll carry on the road, then park the truck and trailer on level ground. Keep the truck and trailer on firm, even ground, with the trailer level and its wheels secured properly.
Measure the coupler’s ball area from the ground to the coupler’s bottom edge; use this loaded height when determining the required ball-mount drop or rise. Keep the truck level, too, because a different load can cause suspension sag and change its receiver height.
After you adjust the hitch and connect the trailer, check the setup again: tongue weight may squat the truck and alter the ball-mount angle. Aim for a level connection, then verify tongue weight is typically 10–15% of the trailer’s gross weight. Use an onboard scale if available, and correct loading or hitch adjustments before towing if the connection or weight distribution isn’t right.
Step 3: Record Receiver Height
With the loaded rig on level ground, record the tow vehicle’s receiver height at its normal towing stance. Measure vertically from the ground to the inside top edge of the receiver tube, or your receiver’s specified point. Use a straightedge or tape consistently.
If your receiver uses an adjustable platform or another reference, choose the instructed point and use it every time; don’t switch between the inside top edge and bottom opening.
Your measurement must reflect the vehicle’s stance after loading, since cargo can compress the suspension and lower the receiver. Record the height in inches in your notes. Measure carefully: one-to-two inch error can change the required ball mount rise or drop and compromise trailer stability.
Step 4: Mark Receiver-to-Coupler Height Difference
Mark both measurements, then subtract the coupler height from the receiver height: receiver top minus coupler bottom. Park the tow vehicle on level ground; measure receiver height from ground to the inside top edge of the receiver opening. Measure the level, loaded trailer’s coupler height from ground to its bottom edge.
Record both values in inches. Suspension squat can change these measurements.
Subtract the coupler value from the receiver value. A positive result means you need a ball mount with that amount of drop; a negative result means you need that amount of rise. For example, a 23-inch receiver height and 19-inch coupler height give you 4 inches of drop. A 20-inch receiver and 22-inch coupler call for 2 inches of rise.
Step 5: Test-Fit Mount and Verify Level
After installing the ball mount, hitch the loaded trailer on level ground and measure the trailer to check that it sits level. Use a tape measure to compare the coupler height with the receiver’s ball area; the connection should be level under load. If the trailer’s nose sits high or low, adjust the mount in small increments, about one inch at a time, then hitch and measure again. A mismatch of even one or two inches can affect control, braking feel, and tire wear.
Let the truck settle under the tongue weight before your final check, since suspension squat changes hitch height. With an adjustable hitch, set the ball connection level under load, not with the vehicle empty. Confirm the result with the trailer fully loaded, then road-test cautiously for tracking and stability. Recheck whenever you’ll change suspension, tires, or shank size before each long trip.
Step 6: Torque the Hitch Ball Nut
Once the ball mount and coupler are correctly seated on the hitch shank, torque the hitch ball nut to the ball manufacturer’s specification using a calibrated torque wrench; the required value varies by ball size and model. Don’t rely on “tight until snug.” Keep the ball aligned as you tighten the nut, without applying side-load, so it seats squarely and doesn’t change the effective connection height.
After torquing, try to rotate or wiggle the ball by hand. The joint shouldn’t move. Recheck the trailer-to-receiver level measurement. A small change in seating can alter the effective rise or drop by about an inch or more, affecting your setup. If the ball moves or the measurement changes, correct the installation and repeat the check before towing.
Verify Safety Chain Slack
With the trailer coupled on level ground, check each safety chain’s slack after setting the ball mount drop or rise.
Measure slack on both sides and confirm each chain has slight play without dragging. Don’t leave chains tight; they must allow articulation through turns and bumps without lifting the coupler or restricting movement.
Cross and attach chains according to your hitch and trailer instructions. Set slack so the crossed chains can provide emergency restraint if the trailer separates from the ball.
Recheck slack after you adjust coupler height to level the trailer. Then check slack once the tongue settles under truck squat and trailer load; both can change chain length relative to the ground. Confirm neither chain drags, and retain enough movement while maintaining restraint.
Fix Trailer Sway Problems
If your trailer sways, first confirm it sits level: measure the receiver’s top inside edge and the trailer coupler’s bottom on level ground, then set the ball mount using receiver height minus coupler height to determine drop or rise.
| Check | Action |
|---|---|
| After hookup | Recheck height; account for truck squat. |
| Tongue weight | Target 10–15% of total trailer weight. |
| Adjustment | Raise or lower about 1 inch; retest. |
A truck may squat 1–4 inches, changing ball height and worsening sway. Loading matters: improper tongue weight can amplify sway despite correct height.
If sway continues, adjust an adjustable mount in small increments, then test at low speed in a safe area. Stop if the trailer remains unstable; don’t continue towing until you’ve corrected the setup.
Inspect Mount for Corrosion
Before measuring drop or rise, inspect the ball mount, shank, and receiver for pitting, flaking rust, or heavy scaling that could prevent the mount from seating fully and alter hitch alignment. Corrosion at the shank-to-receiver interface can create a partial fit, changing the effective hitch height you’re matching to the trailer coupler. Inspect the hitch-pin holes and contact pads for rust buildup; deposits may stop the pin from engaging fully and allow unintended height or angle variation at the joint.
If you find corrosion, clean affected surfaces to bright metal, then reseat the mount before measuring. Leftover rust can skew your ground-to-receiver height reading. After inspection, verify the mount sits firmly, retighten the hitch pin, and confirm locking hardware is engaged before towing.
Conclusion
Measure the coupler-to-receiver difference with your trailer loaded, parked on level ground, and wheels chocked. Choose a ball mount that keeps the trailer level, then torque the hitch ball nut to the manufacturer’s specification. Before towing, confirm the safety chains have enough slack to turn without dragging.
If the trailer sways, stop and correct the cause before continuing. Inspect the mount for corrosion or damage; don’t tow with compromised hitch parts. Recheck your setup whenever your load or towing vehicle changes.