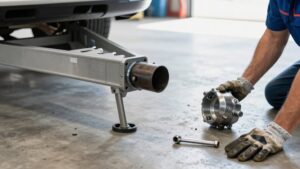
How to Install a Trailer Brake Controller With a Plug-In Harness
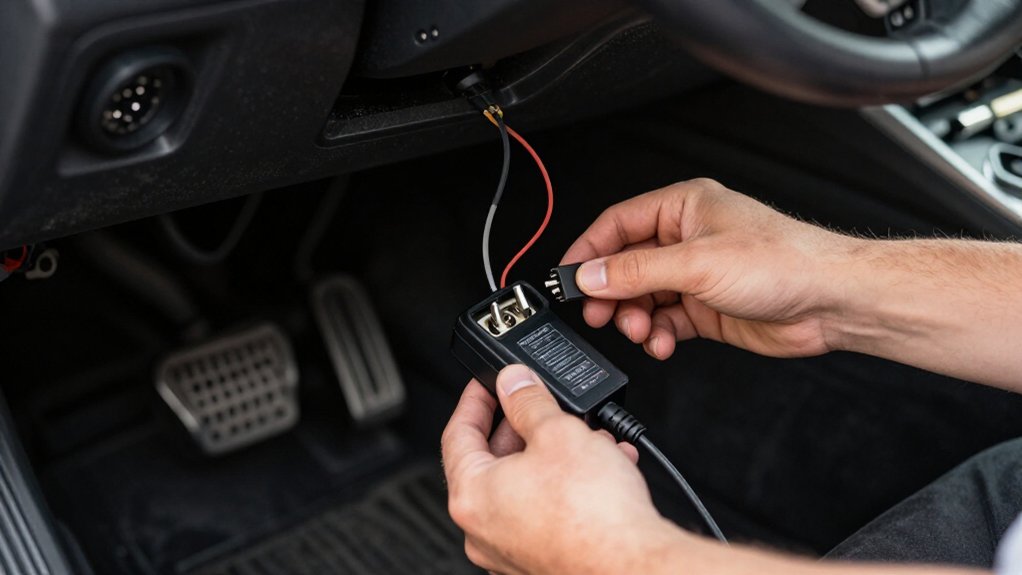
First, confirm your vehicle supports the controller’s exact plug-in harness and connector pinout.
Disconnect the negative battery cable and keep the key out of the ignition.
Locate the factory brake-control port, then mount the controller where you can reach it without obstructing pedals.
Connect the harness securely, route wires away from moving parts, and reconnect the battery.
Test brake-lamp activation and confirm trailer braking under safe conditions before towing.
The checks below help troubleshoot issues.
Trailer Brake Controller Compatibility
Before installing a trailer brake controller, confirm your vehicle supports the correct plug-in harness, often specific to its make, model, or tow-prep package. Check the exact connector before purchase; an OEM-style plug should mate without splicing. Your vehicle’s pre-terminated connector must match the harness pinout and mounting location, since that plug carries the controller’s trailer-brake signal.
For a seven-way trailer setup, verify the harness supports the brake-feed wire, commonly blue, running to the controller. Confirm your controller model is designed for proportional braking and that the harness supports its braking interface; for example, REDARC Tow-Pro Elite relies on the connected harness for that interface. If your vehicle has a four-pole connector behind the bumper, include the compatible four-pole adapter path in your wiring readiness check.
Disconnect Negative Battery Cable
Disconnect the negative (-) battery cable before handling the controller harness to reduce the risk of a short circuit, blown fuse, or damage to your vehicle’s wiring. Keep the key out of the ignition, then wait a moment after disconnecting the cable before you work near vehicle wiring.
Check that the negative terminal is fully isolated and can’t touch metal before mounting the controller or making any under-dash or under-hood connections. This simple precaution protects sensitive circuits as you route and connect the harness plug.
- Remove the negative cable first; don’t rely on the ignition being off.
- Keep the disconnected terminal clear of metal throughout installation.
- Reconnect the cable only after the harness is connected and secured, then restore power for setup or calibration.
Step 1: Locate the Factory Brake Connector
With the negative battery cable isolated, look near the hitch or bumper for a factory trailer connector or tow-prep outlet with a dedicated brake-controller plug. If your vehicle has a tow package, the controller connector is usually pre-routed and ends in an accessible plug, letting you connect the harness without splicing.
Identify the connector and compare it with the OEM-compatible end of your plug-in harness; the shapes and keying should match. Don’t force mismatched plugs, and keep wiring clear of hot, moving, or sharp parts.
If you find only a 4-pole or 7-way trailer socket, don’t assume it supplies brake-controller power. Check your vehicle’s wiring information to confirm a dedicated brake feed is present; some models need additional hardware. Once connected, press the plug fully into place and secure it so it can’t hang below the vehicle or loosen from vibration, especially on rough roads or during off-road use.
Step 2: Choose a Controller Mounting Location
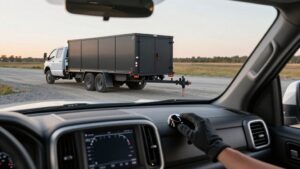
Choose a spot on the lower right side of the dash, a common OEM-style location, where you can reach the controller knob without blocking the pedals or interfering with normal operation.
Before fixing it, sit in your normal driving position and check that the controller face stays visible and the knob remains easy to operate. Confirm the unit won’t obstruct knee movement, steering, switches, or access to other controls.
Choose an interior area away from heaters and direct sunlight; excessive heat can affect consistent operation. Hold the bracket in place and verify the harness can reach the vehicle’s connector area comfortably, without tension, sharp bends, or pinching. Keep the cable path tidy and away from moving parts, pedals, and edges that could abrade insulation.
Secure the controller firmly to its supplied bracket so it won’t shift or rattle on rough roads. Mark the mounting points only after these clearances are confirmed, and the position feels natural.
Step 3: Connect the Plug-In Harness
After confirming the mounting location, plug the REDARC OEM-compatible harness into the Tow-Pro Elite until it seats fully, then connect the other end to the vehicle’s OEM tow-prep or 4–7-way outlet. This direct connection avoids splicing into vehicle wiring. Check that both plugs align with their sockets and seat securely. Don’t force a connector that resists, since misalignment can damage terminals.
Before mounting the controller, inspect the harness path and move excess slack away from pedals, heat sources, and sharp edges. Secure the slack with zip ties so it can’t shift into the footwell or contact moving parts. Keep the wiring clear of controls, and confirm it can’t shift while driving. Once connected, proceed to the controller-mounting step as directed by the instructions.
Step 4: Attach Controller to Harness
Connect the Tow-Pro Elite’s pre-terminated harness plug to the matching connector on the OEM-compatible harness until it clicks and locks securely.
Because this plug-in harness requires no splicing, don’t cut or join wires. Check that the connector’s orientation matches the socket, then press it fully home; a loose or partially seated plug can disconnect under vibration.
Mount the control unit where the harness reaches without tension, leaving slack for installation. Keep the plug and wiring away from hot components and sharp edges, and make sure no panel pinches the connector as you refit trim.
Once connected, power the controller during your initial setup and confirm it turns on. If it doesn’t, switch power off and recheck the plug’s alignment and seating before continuing.
Step 5: Calibrate Gain Under Load
Once the trailer is safely connected and you’re towing under normal conditions, set the Tow‑Pro Elite’s gain between 0 and 10 and test it with a few controlled stops.
After plug-in installation, the controller runs Active Calibration at first use, learning its mounting orientation and monitoring vehicle telemetry. Set gain with the loaded trailer, since braking response under normal towing conditions determines the right setting.
On a safe, level route, make steady stops and assess how the trailer responds. Aim for firm, smooth proportional braking that tracks your deceleration without making the trailer push or jerk. If braking feels too aggressive, lower the gain; if it feels weak, raise it. Make small knob changes, then repeat a controlled stop to confirm the adjustment again.
Step 6: Clear Wiring From Pedals
Keep the brake-controller wire and any duplex cable runs under the dash, following existing harness paths well clear of the accelerator and brake pedals’ full travel. Route the brake wire through the firewall using the path specified in your kit or harness instructions. Keep every wire away from moving linkages, steering shafts, and heat sources such as HVAC ducts to prevent abrasion or melted insulation.
Use zip ties to secure excess slack beneath the dash and at the firewall pass-through. Leave a small service loop near the controller so you can remove it without pulling on the wiring.
With the harness secured, fully depress the brake pedal and gently move the pedals through their travel. Watch for contact, snagging, shifting, twisting, or tension, and adjust the routing before proceeding.
Test Brake-Lamp Activation
With the wiring secured clear of the pedals, turn on the vehicle and have a helper press the brake pedal while you check that the trailer’s brake lamps illuminate. This confirms the plug-in harness carries the brake-light signal through the vehicle’s trailer connector.
If the lamps stay dark, stop testing and check that the adapter and 4-pole connector are seated. For a trailer with electric brakes, move to a safe, open area. Raise your speed a little, then apply the pedal while watching for smooth brake engagement that matches lamp activation.
Keep speed low and leave ample room to stop.
After calibration, confirm the Tow-Pro Elite or similar controller’s active LED or mode changes as expected when you press the pedal. Proper calibration supports consistent trailer braking.
Diagnose No Trailer Braking
If the trailer brakes don’t engage, park safely and check the controller’s power and ground first. Set the multimeter at the plug-in harness: the black lead should show 12 volts from the battery, and the white ground must attach to clean, bare frame metal. With the trailer connected, move the manual lever and test the blue brake wire for a voltage or continuity change.
| Check | Finding |
|---|---|
| No blue-wire change | Trace wiring or controller signal. |
| Loose OEM plug-in adapter | Reseat; check fit and corrosion. |
| Wrong breaker or wire gauge | Match specifications; don’t up-rate. |
Verify the trailer-feed breaker and wire gauge match specifications; never replace a 30-amp position with a 40-amp breaker. If checks don’t restore braking, have the circuit and controller tested before towing it again safely.
Inspect Connector for Corrosion
Before plugging in the OEM 4, 7-way harness, inspect the vehicle’s 4-pole connector and the adapter’s mating pins for rust, pitting, or green or white oxidation, especially around areas exposed to road spray. Check all four pin locations for discoloration or pitting; moisture and road spray often reach this adapter area. If you spot corrosion, apply an appropriate electrical contact cleaner and scrub gently with a non-metallic brush. Wipe the contacts dry, then confirm the metal surfaces are smooth and conductive.
Don’t use a metal tool, which could damage contacts or cause a short. Inspect the connector body and seals for cracks, looseness, or damaged gaskets. A compromised seal can let water back in and restart corrosion. After cleaning, align the plug and press it fully into place.
Confirm it seats firmly, makes solid contact, and doesn’t wobble before continuing the brake controller installation. If damage remains, replace the connector rather than relying on an unstable electrical connection.
Conclusion
Once you’ve installed the controller and plug-in harness, verify every connection before reconnecting the battery. Keep wiring clear of the pedals, then confirm the brake lamps activate and test trailer braking in a safe, controlled area.
If the trailer brakes don’t respond, stop and inspect the connector for corrosion, loose pins, or poor contact. Don’t tow until the system works reliably. Follow your vehicle and controller instructions, and ask a qualified technician for help if you can’t resolve a fault.