D-Ring Shackle Size Chart: Working Load Limits and Pin Diameters
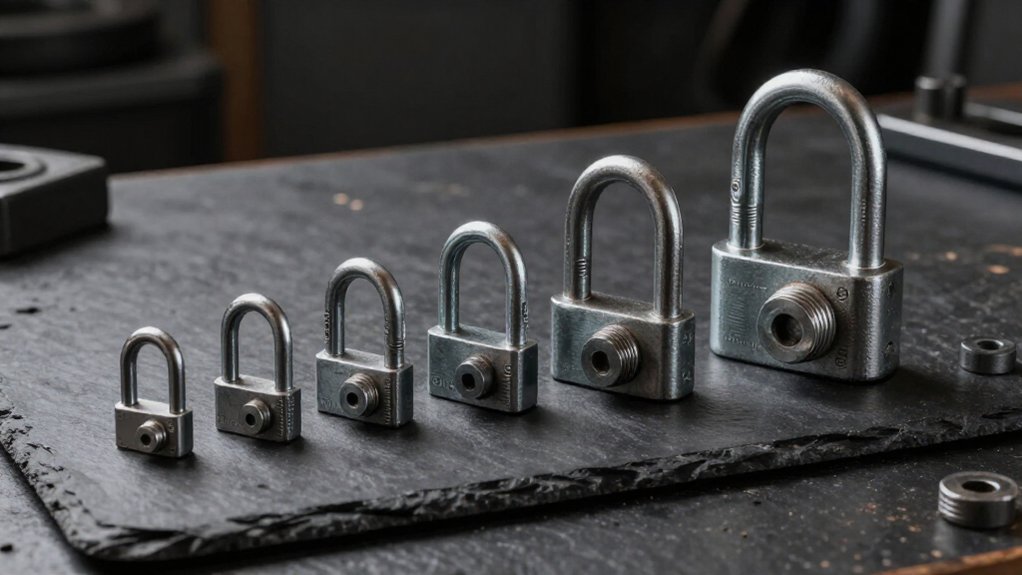
Use a D-ring shackle size chart to match pin diameter with working load limit (WLL), but verify the exact rating in the manufacturer’s chart. A 1/4-inch pin may carry 0.5 ton, while a 3/4-inch pin may carry 4.75 tons; ratings vary by model.
Check body width and throat fit separately, since shape doesn’t set capacity. Keep loads in line, fully seat undamaged pins, and inspect retainers.
You’ll find guidance for sling fit and vehicle recovery.
Pin Diameter Reference
Because pin diameter determines a shackle’s working load limit (WLL), check the pin—not just the shackle’s apparent size—when selecting hardware.
Use the stamped size as a starting point, then verify actual pin diameter against a reliable WLL reference. A 1/4-inch pin carries a 0.5-ton WLL, while a 3/4-inch pin carries 4.75 tons. At 1-1/2 inches, the listed WLL reaches 17 tons; this jump shows why visual heft can mislead you.
Confirm that the pin fits your vehicle or recovery-hardware hole without excessive play. For a typical screw-pin bow shackle, the pin is 1/8 inch larger than the stated shackle size: a listed 1/2-inch shackle uses a 5/8-inch pin. Check both fit and rated capacity before loading, and don’t exceed the lowest applicable WLL in your recovery system. Measure pin and hole dimensions if fit is uncertain, and verify the manufacturer’s rating before connecting hardware or applying recovery force safely.
Body Width by Shackle Size
Pin diameter sets a shackle’s WLL, while body width determines how much room you have for straps or connected hardware. As pin size increases, body width generally grows, giving wider webbing and hardware more clearance. Choose a width that fits your connection; don’t treat it as a substitute for a rated WLL.
| Pin diameter | Relative body width | Typical fit |
|---|---|---|
| 1/4 in | Narrowest | Compact straps |
| 1/2 in | Small to mid | Standard towing straps |
| 3/4 in | Wider than 1/2 in | Wider webbing |
| 1-1/2 in | Largest | Larger-capacity hardware |
At 1/2-inch pin size, you get a body suited to standard towing straps while keeping the load path in line. A 3/4-inch pin gives more room. The 1/4-inch option has the narrowest body; the 1-1/2-inch size has the widest in this chart range. Before use, verify fit and ratings; never exceed the lowest marked WLL.
D-Ring Body Geometry
A D-ring shackle’s bow is designed to carry load primarily in line through the bow and pin axis; its body shape doesn’t set the WLL, the pin diameter does.
Its slim D-shaped profile can rack or twist when force misses the pin axis. The bow’s throat opening determines how the shackle seats on your strap or hook. If the fit shifts the connection off center, you’ll introduce side force on the pin.
Match the body geometry to your recovery hardware so the shackle sits square and the load follows its intended path. Don’t assume identical D-ring bodies have identical capacity: pin dimensions can differ, as with a 1/2-inch shackle using a 5/8-inch screw pin. Verify compatibility and always keep loading correctly aligned before use.
Working Load Limit by Size
Your shackle’s WLL is established on pin diameter, so match the chart’s measurement to the pin, not the bow shape or overall size. Ratings vary sharply by size; for example, common shackles may be rated 0.5 tons at a 1/4-inch pin and 4.75 tons at a 3/4-inch pin.
Verify the stamped WLL and manufacturer’s chart, and ensure it meets the load path because your system is limited by its lowest-rated component.
WLL by Shackle Size
For a quick size check, a shackle’s working load limit (WLL) depends on its pin diameter, not its overall appearance. Two shackles that look alike can carry very different rated loads, so don’t select one by body shape or apparent thickness.
As a reference, a 1/4-inch pin is rated about 0.5 ton, while a 3/4-inch pin is rated about 4.75 tons; a 1-1/2-inch pin reaches about 17 tons. These figures show how quickly capacity can rise across standard sizes, but they aren’t a substitute for checking the specific unit.
Use the WLL stamped on, or verified for, your exact shackle. Chart ratings assume an undamaged shackle under in-line loading. Angled, side, or otherwise non-ideal loading can reduce the effective safety margin without changing the stamped rating. Keep the load within the verified WLL, and don’t infer capacity from appearance alone during every lift.
Pin Diameter by Size
Match the pin diameter to the shackle’s stamped WLL: pin size, not the body or bow shape, determines the rating. Your chart links each pin diameter to a specific working load limit (WLL). A 1/4-inch pin corresponds to about 0.5-ton WLL; a 3/4-inch pin corresponds to about 4.75-ton WLL; and a 1-1/2-inch pin corresponds to about 17-ton WLL.
These values show why you must identify the pin itself rather than estimate capacity from the shackle’s outline. Before use, read the manufacturer’s marking and confirm that the stated size and WLL match the measured pin diameter. If the stamp’s missing or unclear, stop and obtain verified product information; don’t assign a rating by appearance. Select a correctly identified shackle for the planned lift.
Size and Load Ratings
A shackle’s working load limit (WLL) is its manufacturer-rated maximum for normal, in-line loading, and it depends on pin diameter, not bow shape.
For forged screw-pin anchor shackles, a 1/4-inch pin carries a 0.5-ton WLL; a 3/4-inch pin, 4.75 tons; and a 1-1/2-inch pin, 17 tons.
Treat these as examples, not substitutes for the rating stamped on your shackle. Visually similar shackles can use different pin diameters and carry different limits, so verify the size stamp.
Use a shackle when it’s undamaged and the pull stays straight in line. Severe or non-ideal geometry reduces your margin against failure.
Select capacity for the heaviest single load path in your recovery or rigging setup; the lowest-rated component limits the system. Don’t assume a larger-looking bow means greater capacity.
Chart Measurement Notes
When using the chart, base the shackle’s Working Load Limit on its pin diameter, not its bow size or overall heft. Measure the recovery point hole’s inside diameter with calipers, then select a screw pin that fits snugly without excessive play. The chart’s pin-diameter mapping provides your baseline: a 1/4-inch pin carries a 0.5-ton WLL, while a 3/4-inch pin carries a 4.75-ton WLL.
These figures assume in-line loading on an undamaged shackle. If the hole is loose, use a fit-correction option such as a rattle ring or adapter sleeve; don’t downsize the shackle to compensate for clearance. A smaller pin may alter the rated capacity and leave engagement uncertain. Match the hardware to the measured hole and keep the load aligned with the shackle’s centerline to limit side loading.
Verify Manufacturer Ratings
To verify a screw-pin anchor shackle’s Working Load Limit (WLL), read the manufacturer’s stamped rating; pin diameter determines the rating, not the bow’s size or the shackle’s visual heft. Match the measured pin diameter to the manufacturer’s size marking and corresponding WLL. For reference, a 1/4-inch pin carries a 0.5-ton benchmark, while a 3/4-inch pin is rated at 4.75 tons and a 1-1/2-inch pin at 17 tons.
Use these figures only as benchmarks; the stamp on your shackle controls.
Confirm the rating applies to an undamaged shackle loaded in line. Misalignment or other non-ideal rigging conditions can reduce the effective margin, even when the stamped WLL is correct. If you can’t read the size stamp or rating, don’t guess from appearance or bow dimensions.
Matching Pins to Slings
Match the sling eye to the shackle’s pin diameter, not its stated size: for example, a 1/2-inch D-ring shackle may use a 5/8-inch screw pin.
Measure the sling-end hole or eye and compare it with the pin diameter before use. A snug fit limits movement and wear; excessive play can damage the eye or pin. As a rule of thumb, pins are 1/8 inch larger than the shackle’s stated size, but verify specifications and measure when fit is tight.
If the eye sits loose, use approved rattle rings or adapter sleeves. Don’t substitute a smaller shackle to reduce clearance. Confirm the pin passes fully through the sling hardware and seats; never force or use a connection that won’t accept the pin completely, because improper seating can compromise intended safe loading performance.
Side-Loading Capacity Reductions
Even with the correct pin-to-sling fit, a D-ring shackle’s stamped WLL applies to straight, centered loading, not side-loading at an angle to the pin axis.
Side-loading shifts force away from the intended line, reducing capacity because the pin and bow don’t share load as designed. Off-axis pulls can create racking or twisting when your strap or chain isn’t centered.
Treat that setup as derated; WLL doesn’t cover side loads. Shock loading, including jerky starts and snatch loads, further erodes the margin assumed for in-line use.
For example, a 1/2-inch shackle rated WLL 2T with a 5/8-inch screw pin doesn’t retain that 2T rating during off-axis pulling. Plan a straight-line, centered pull through the pin, and avoid features that let the shackle work against its attachment. Stop if you can’t align.
Vehicle Recovery Attachment Points
Before selecting a shackle for a vehicle recovery point, measure the attachment hole with calipers and choose a pin diameter that seats with minimal play. Use your vehicle’s GVWR, not curb weight alone, as the sizing baseline, and select a shackle whose WLL comfortably exceeds that load. Allow margin for dynamic loading.
For example, a 1/2-inch D-ring shackle with a 5/8-inch screw pin commonly has a 2-ton (4,409-pound) WLL; regard it as the system’s limiting component. Keep the pull in line with the shackle. Side, tip, or back-loading can reduce the safety margin assumed by its rating. If the attachment bore leaves slight pin clearance, use a suitable rattle ring or adapter sleeve. Don’t downsize to a tighter-fitting shackle, which may lack adequate capacity.
Pin Thread Damage Checks
After confirming the shackle fits the recovery point, inspect its screw-pin threads for bends, galling, cross-threading, or stripping. Thread wear can prevent full seating and compromise load transfer, so don’t force a damaged pin. Verify the pin tightens fully and seats flush; if it won’t, take the shackle out of service. Inspect the bore and thread start for cracks or gouges, where stress can concentrate.
Also match pin diameter to the anchor opening; a 1/2-inch shackle may use a 5/8-inch screw pin.
- Check threads along the pin’s full length.
- Reject visible galling, flattened crests, or missing material.
- Never force engagement through a mis-sized or deformed opening.
- Replace the shackle if tightened engagement feels loose.
- Damage invalidates confidence in its rated WLL, such as 2T.
Bolt-Retainer Inspection Steps
A secure bolt retainer must be fully tightened and seated flush before every use. Inspect the screw-pin assembly and surrounding shackle body before loading; a loose pin can reduce safe performance.
- Confirm the retainer and pin match the shackle specification; a 1/2-inch D-ring listed with a 5/8-inch screw pin requires that specified pin.
- Examine pin threads and bearing surfaces for wear, galling, or damage that could prevent full seating.
- Check the body around pin holes for cracks, gouges, or deformation signaling overstress.
- Verify the retainer isn’t bent and the pin seats tightly.
- Remove the shackle from service if you see interface damage or can’t achieve flush seating.
Follow assembly instructions and keep the shackle unloaded during inspection.
Conclusion
Before you use a D-ring shackle, confirm its pin diameter, body width, and working load limit against your sling and attachment point. Don’t assume matching nominal sizes guarantee compatibility. Check the manufacturer’s chart, account for any side-loading reduction, and verify the vehicle point is rated for the load.
Inspect threads, pin fit, and bolt retainer for damage or looseness. If anything’s uncertain, stop, replace questionable hardware, and choose a properly rated connection before applying tension.