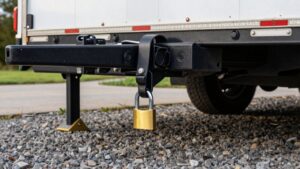
Trailer Coupler Lock Size Guide: Match the Lock to Your Ball and Coupler
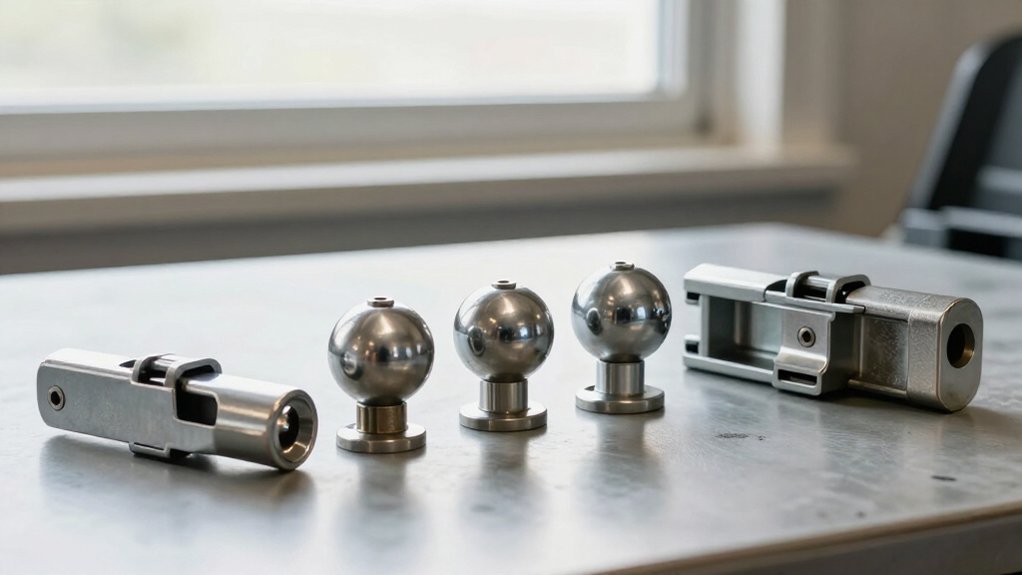
Match your coupler lock to the socket and latch, not the hitch ball alone.
Common sizes are 1-7/8, 2, and 2-5/16 inches; never use a 2-inch lock on a 2-5/16-inch coupler.
Measure the latch opening and narrowest clearance with calipers, then compare them with the lock’s opening and pin limits.
Check lip width and depth, accounting for coatings and wear.
Install without forcing; confirm edge-to-edge coverage without gaps or rattling.
The checks below help verify fit.
Ball-and-Coupler Lock Fit
Choosing the right ball-and-coupler lock starts with the coupler’s socket opening, not the hitch ball’s diameter, because the coupler is what the lock must cover.
Common socket sizes are 1-7/8 in, 2 in, and 2-5/16 in. Choose a lock built for your coupler latch, not your hitch ball. Never use a 2 in lock on a 2-5/16 in system, or vice versa; mismatched parts may fail to block attachment.
Measure the socket’s inner diameter at the mouth’s widest inside point with calipers; clean away grease, rust, or stickers first. Then confirm the lock covers the latch tightly from edge to edge, with minimal rattle or shifting. Gaps can create leverage points. Verify engagement before leaving your trailer unattended, before towing or parking it securely.
Lock Opening Clearance Chart
To verify lock-opening clearance, measure the coupler mouth at its widest inside point—not the hitch ball—and compare both lip dimensions with the lock’s chart.
| Clearance | Typical 2-inch limit | Check |
|---|---|---|
| Lip width | 3-3/4 in maximum | Must fit |
| Lip height/depth | 5/16 in maximum | Must fit |
| Latch coverage | Edge to edge | No gap |
Treat width and height/depth as separate limits; fitting one doesn’t excuse a mismatch in the other. If the lock sits over the latch, aim for edge-to-edge coverage; a gap at the latch can create leverage for removal.
Before buying, dry-fit it on the uncoupled coupler. Confirm minimal rattle and that the latch stays blocked. You shouldn’t need to force or hammer the lock into place; resistance signals poor fit.
Lock Opening Measurements
Measure the lock opening at the point where its pin or tab enters the coupler-latch gap, not across the coupler’s exterior or the tow ball.
Clean the coupler mouth and latch area first; grease, rust, paint, or stickers can distort your reading. Use a caliper. Its jaws can capture the insertion dimension accurately, while a tape measure may not distinguish close fits, such as setups for 2-inch and 2-5/16-inch couplers.
Match the measured opening to the lock’s specified pin size; common options include 3/8-inch, 1/2-inch, and 5/8-inch, or metric equivalents such as 10, 12, or 16 millimeters. If the closed latch blocks access, follow the manufacturer’s fitting procedure.
Before purchase or use, confirm the lock seats securely with minimal rattle; never force an incompatible lock.
Lock Shackle Diameter Limits
Measure your coupler opening with calipers and compare its clearance with the lock’s specified pin or shackle diameter. Choose a shackle that seats fully and fits snugly; an undersized pin can leave a leverage gap, while an oversized one can prevent secure locking.
Verify ball compatibility before purchase.
Measure Shackle Clearance
Before buying a coupler lock, check that its shackle diameter fits the coupler’s tightest clearance without binding or leaving a leverage gap. Use calipers to measure the narrowest path the shackle must pass, including any lip, latch housing, or nearby metal; don’t rely on the widest visible point.
If your measured clearance is below the manufacturer’s listed maximum shackle outside diameter, the lock may not seat fully, leaving room for leverage. On curved or recessed couplers, check several points around the front; contact at just one spot can stop the shackle from aligning. Dry-fit the lock over the uncoupled coupler.
Confirm the shackle aligns properly and turns the locking mechanism freely. Don’t hammer or force it; binding signals inadequate clearance, not a secure fit.
Check Coupler Opening
Check the coupler’s latch opening, not the hitch ball, to find the shackle or pin diameter the lock needs to fit. Position your coupler so you can access the latch and hole; unhitched, if needed. Measure the hole at its widest point, then compare that dimension with the lock’s stated shackle or pin limits. Options commonly include 3/8, 1/2, and 5/8 inch, as well as metric sizes.
Choose a diameter that matches the latch hole and seats correctly. If the shackle or pin is too small, the lock may rattle and leave a leverage gap. If it’s too large, it may not seat or fully cover the latch. Test-fit it snugly, then gently rock the locked assembly by hand. Don’t use a lock that moves excessively or fails to engage fully.
Account for Lock Pins
Match the lock pin or shackle diameter to the coupler’s latch hardware; a poor fit can leave a leverage gap or keep the lock from seating fully.
With the trailer uncoupled, measure the latch or lock-pin hole diameter, then compare it with the lock’s fit chart. Common pin sizes include 3/8-inch, 1/2-inch, 5/8-inch, and metric equivalents such as 10mm, 12mm, and 16mm; use the manufacturer’s specifications rather than guessing. Choose a pin that fits snugly without excessive play.
A pin that sits loosely may give an intruder room to pry or create leverage. Also check engagement depth: ensure the pin passes fully into the latch area as designed. Once locked, it should resist being pulled out or slid off. Test operation before towing, and verify that the latch closes and the locking mechanism engages. If either part binds or fails to seat, recheck measurements and confirm compatibility before relying on it.
Avoid Oversized Shackles
A coupler lock’s shackle or pin must fit the latch opening’s rated diameter range; an oversized one can prevent the lock from seating fully and leave the tow-ball area unblocked.
Don’t assume a universal-fit lock: its shackle or pin has a thickness range, commonly 3/8, 1/2, or 5/8 inch, or 10 or 12 mm. With the trailer uncoupled, measure the latch opening where the shackle passes, then compare that measurement with the lock’s fit chart before purchase.
If the shackle exceeds the opening, you may not align the locking core or fully engage it. Gaps can allow rattle and movement, reduce security, and fail to block coupler access.
After locking, confirm it sits edge-to-edge with minimal rattle; otherwise, choose a shackle within the rated diameter limits.
Verify Ball Compatibility
Once the shackle fits the latch opening, verify that the lock suits your hitch ball and coupler hardware.
Check the ball diameter first: common sizes are 1-7/8-inch, 2-inch, and 2-5/16-inch. A mismatch can keep the lock from covering or engaging the latch correctly.
Compare the lock’s measured shackle or pin diameter with the intended coupler feature. Pin sizes include 3/8-inch, 1/2-inch, and 5/8-inch; metric options include 10mm, 12mm, and 16mm. Use calipers to measure worn-marking hardware across its widest point.
Compare the result with the lock’s fit chart and stated shackle diameter range. Don’t assume an adjustable lock fits. If its opening falls outside the limits for your ball-and-coupler arrangement, choose the correct size or model before towing. Prevent looseness and clamping around unsupported hardware.
Account for Protective Coatings
Clean the coupler mouth to bare metal before measuring: paint, powder coat, and rust can alter the lip dimensions and cause a lock to fit incorrectly. If your coupler is coated, lightly sand or wipe residue from the seating area so the lock bears edge-to-edge, not on top of the coating.
After cleaning, measure the inner mouth diameter and lip width and height; use calipers when possible to distinguish a 2-inch coupler from a 2-5/16-inch model. Install the lock aligned with the latch and confirm it fully covers the intended area.
Even a thin coating can hold the lock away from the metal and leave a gap that compromises coverage. Once secured, check for rattling or sliding at the latch coverage point. A snug appearance alone doesn’t prove the lock is seated correctly. Correct the fit before towing or leaving the trailer unattended; don’t rely on a coating to fill clearance.
Worn Coupler Tolerances
Check a worn coupler’s latch area instead of relying on its stamped ball size: wear can widen the pocket and change the lock’s effective fit, leaving a lock made for a nominal 2-inch coupler loose.
Measure the coupler lip side-to-side and its height or depth where the lock seats; wear often alters this latch pocket more than the overall opening. Inspect the socket for rust pits and the lip for flattening or burrs. Either defect can leave a measurable gap and create leverage, even when the stated diameter matches.
Seat the lock evenly, then gently rock and pull it by hand. Sliding or rattling signals worn tolerances and a possible mismatch; don’t tow with that fit. If the lock can’t sit snugly edge-to-edge, consult the manufacturer’s fit chart and select another size or model, or replace the coupler. Don’t force the lock into place: pressure won’t restore the correct engagement or provide a dependable restraint under towing loads.
Aftermarket Coupler Covers
A coupler cover can shield the assembly from dirt and rain, helping limit surface corrosion, but it won’t prevent hitching like a dedicated coupler lock.
Choose a cover shaped for your coupler: A-frame or straight-tongue, so it clears the latch handle and yoke without restricting coupler movement. If your coupler uses an EZ-Latch or collar-lok design, confirm the cover’s cutouts leave controls accessible for opening and closing.
Covers depend on a snug fit to stay in place. A loose cover may rattle off or provide leverage that exposes parts of the assembly. Check fit and replace a cover that won’t remain secure.
For parking security, don’t rely on a cover alone. Select a coupler lock sized to your socket and lip width and lip height, and use it with the cover.
Latch Position Misalignment
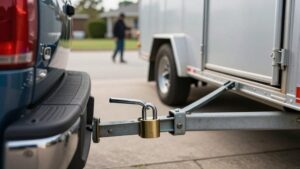
If your coupler lock doesn’t sit flush over the latch, a gap can leave part of the coupler opening exposed and create a leverage point for tampering.
Install it only with the trailer uncoupled; align it directly, never twist it into position. Engage its mechanism only after it rests evenly.
- Check that the lock contacts the latch lip and collar evenly; uneven contact signals misalignment.
- Remove and reinstall it if it doesn’t drop into place; don’t hammer or force it.
- Pull and gently rock the lock by hand. Sliding or rattling suggests it may not cover the latch correctly.
- Aim for edge-to-edge latch coverage to limit exposed areas that could offer tampering leverage.
- Correct alignment supports shielding; don’t treat a loose fit as secure.
Check Full Lock Engagement
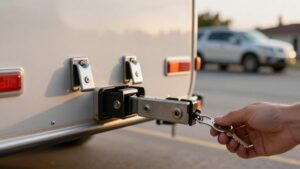
Once the lock sits evenly over the latch, turn the key and confirm it covers the latch edge to edge with no gap. Check that the lock engages only when aligned; never force or hammer it into place. Misalignment may leave the coupler usable.
Use this quick final check:
- Pull and lightly rock the lock by hand; it shouldn’t slide or rattle against the coupler.
- Confirm it covers the latch mechanism, not merely the outer body, so the coupler can’t accept the tow ball.
- Release it, reinstall it once, then check that the mechanism operates smoothly and holds locked.
- Look for firm contact around the latch; gaps can give a thief an access point.
- Before leaving storage, repeat this check to verify full engagement.
Conclusion
Match your trailer coupler lock to the ball size, coupler profile, and available clearance, not just the product label. Measure the lock opening and shackle, then account for coatings, wear, covers, and latch misalignment. Before towing, confirm the lock seats fully and engages without force; a partial fit can leave the coupler unsecured or damage its hardware.
If dimensions conflict or engagement is uncertain, don’t tow. Choose a compatible lock and verify secure operation first.