How to Lock a Gooseneck Trailer When It’s Parked or Unhitched
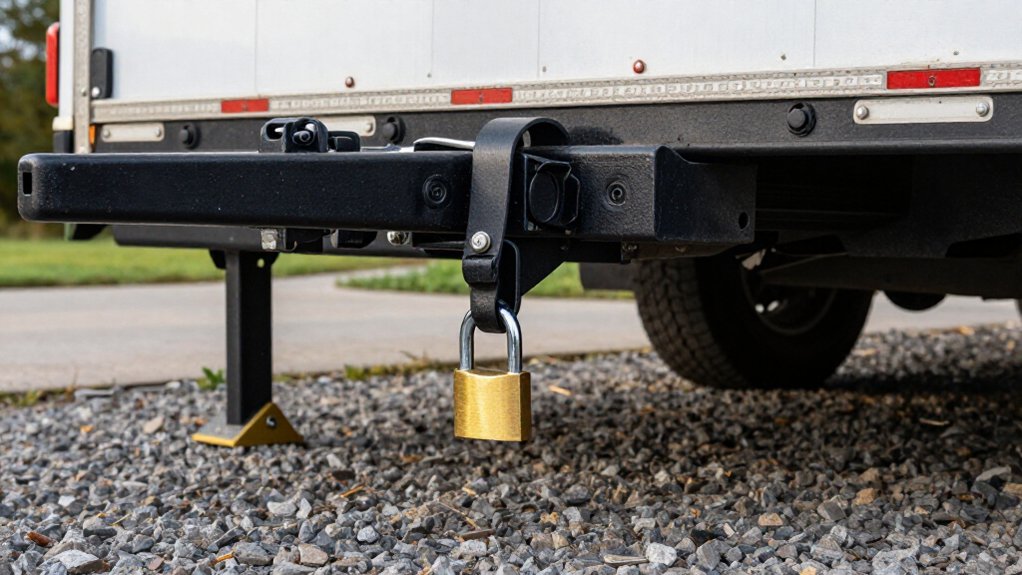
When you park your gooseneck trailer, chock both sides of each wheel on level ground, then lower the coupler below normal hitch height and secure the landing gear.
Fit a precision-match coupler lock that fully covers the receiving tube, and add hardened chain secured to under-bed puck mounts.
Install a properly sized wheel boot, verify every lock engages snugly, and keep spare keys and tools somewhere secure.
More checks can further strengthen your setup and security.
Gooseneck Lock Selection
Start with a precision-fit gooseneck coupler lock that fully covers the receiving tube and leaves little room for prying. Choose a model designed to block access to the coupling, not one that merely adds a loose padlock. That coverage helps prevent a thief from replacing the coupler with a compatible one.
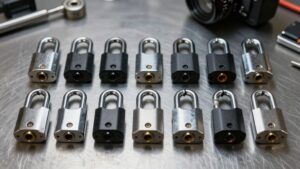
Look for hardened construction, such as cast iron and stainless steel, to better resist cutting, drilling, and prying than basic locks. Before buying, check compatibility with your exact receiving-tube shape and pin features; some older goosenecks lack safety-pin holes. Read reviews for your trailer’s brand and model, and favor designs that address coupler-replacement tactics. A secure fit matters: an incompatible lock can leave gaps or fail to engage, weakening the protection you expect.
Coupler Lock and Chain Safety
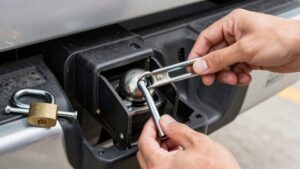
A precision-fit gooseneck coupler lock should block access to the receiving tube and prevent coupling without its key. Choose cast-iron or stainless-steel construction sized to your coupler; a loose fit can leave an opening thieves may exploit.
- Add a second layer with transport-grade 3/8-inch or 5/16-inch chains rated at least for your trailer’s GVWR.
- Secure them to rear-most under-bed puck mounts with the provided pins or lynch pins.
- Leave turning slack, but thread end-links through a closed-shackle or puck-style lock so chains can’t slip off anchors.
- If a coupler swap could defeat your lock, choose a model built to resist it and add chain or tongue-area blocking.
Before leaving, verify the coupler lock, hitch pin, latch, and chain anchors are fully seated and secured.
Step 1: Chock the Trailer Wheels
Once the coupler and chains are secured, make certain the trailer wheels are chocked to prevent rolling. Chock both sides of each wheel so it can’t roll forward or sideways. Use heavy-duty chocks sized for the tire contact patch. Rubber or wood will do, but polymer chocks hold up better under load.
Place chocks against the tread in the direction the wheel could roll: directly ahead if it might move forward, or behind if it might roll backward. Park on level ground; even a slope can shift an unhitched gooseneck. Use at least two chocks and ensure the trailer settles.
Before leaving, test for movement by hand. If you use a tractor to check, do so when safe and in park or neutral. Confirm the chocks grip and no wheel moves before you stop work.
Step 2: Lower Trailer Below Hitch Height
With the trailer chocked, crank the landing gear until the coupler sits below normal hitch height, making it harder for a thief to back up and couple quickly. Park on relatively level ground so the gooseneck stays in this low, not-ready-to-tow position instead of settling toward an easy coupling height.
Secure the landing gear with its lock, or retain the crank or pin, so someone can’t quickly raise the trailer. If you can, add a separate access barrier that takes extra time to defeat; a thief would then need to raise the coupler and overcome that restraint. Before leaving, check the coupler’s height and clearance carefully. Ground slope or settling can make it tow-ready again, so confirm it remains below your usual hitching height.
Step 3: Install a Wheel Boot
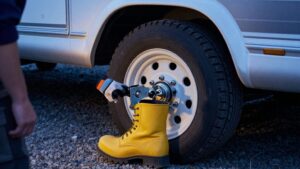
Lowering the coupler makes a gooseneck harder to hitch, and a wheel boot adds a barrier against rolling it away.
Choose a boot sized for your wheel and tire width, with hardened-steel construction and a weather-resistant lock core. Position its clamping arms firmly around the tire, not just the rim. Tighten until it can’t wiggle; a snug fit resists prying and slipping.
Use it when unhitched. It blocks wheel rotation, deters roll-off and quick pickup.
If possible, place it on the wheel most accessible from the parking area, where thieves have the greatest leverage. Choose a position that keeps the trailer immobile on its own.
Inspect the clamping mechanism. Clean and lubricate it as needed so rust or debris won’t weaken its grip or misalign the lock.
Step 4: Lock the Safety Chains
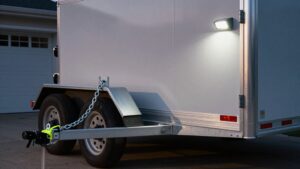
Before you leave, anchor both safety chains to the rear-most under-bed puck mounts on each side, where equipped. Hook each chain to its designated anchor and leave enough slack for turning, but not enough to drag or slip free. Seat the supplied hardware; for example, insert the 10-mm pin and secure it with the 5-mm lynch pin.
For theft resistance, choose hardened-steel chain and a closed-shackle or puck-style lock sized for your trailer’s class. Use 3/8-inch or 5/16-inch high-strength transport chain rated at least equal to the trailer’s GVWR. Thread the lock through the chain’s end links or the anchor’s U-bolt, securing each chain to its mount.
Then pull on the chains. Confirm the anchors and locks take load without binding, slack surges, or pin movement.
Step 5: Add a Kingpin Alarm
Add a kingpin alarm to alert you if someone tries to uncouple or move your parked, unhitched trailer. Position the sensor to detect kingpin or neck movement or a loss of normal contact. Don’t rely on vibration alone; a poorly placed sensor may miss an actual hitch attack.
When the alarm sounds, you can respond promptly and notify authorities if needed. Pair it with a coupler or kingpin lock, such as a device that blocks the receiving tube. The lock makes the hitch harder to defeat, while the alarm raises the chance you’ll notice an attempt in real time.
Before leaving your trailer unattended, test the alarm and confirm its battery has power. Recheck it periodically, especially after long storage or exposure to weather.
Step 6: Collect Spare Keys and Tools
Keep spare keys and the tools you need to operate your gooseneck locks in a secure location separate from the trailer, shed, and vehicle. Store backups for every lock type, not just the most common one. Keep them somewhere controlled, such as a locked cabinet inside your home, and don’t label keys with details that identify your trailer.
Gather the landing-gear crank handle and any specialty hitch-pin or pin-lock keys you’ll need. Store them securely, but where you can retrieve them without delay. If a coupler or tongue pin lock uses a key, don’t leave it exposed to copying or discovery.
At home, do one lock-and-unlock drill with the right keys and tools; periodically confirm they’re present and match your trailer’s actual locks.
Inspect Lock Engagement
Once you’ve gathered the right keys and tools, check that each gooseneck coupler lock is fully seated, secure, and free of gaps that could expose the receiving tube.
Confirm associated locking hardware—pins, lynch pins, or a padlock shackle—is completely engaged. Check that each pin or shackle protrudes as intended; partial withdrawal could release the lock. Make sure the lock covers the full receiving-tube area where the coupler must slide in, not just the outer lip. That coverage prevents someone from placing the coupler.
Inspect fasteners and contact points for tightness and alignment. A crooked or binding fit can create leverage for prying, so correct it before leaving. With the trailer still unhitched, give the installed lock a brief, firm tug. It shouldn’t rattle, shift, or loosen. If anything moves, reseat and secure it, then repeat the check. Leave the trailer only when the lock stays fixed during this final security check.
Frozen Lock Cylinder Repairs
When ice or water freezes a gooseneck lock cylinder, warm the key and lock briefly before trying the key; forcing it can snap the key or damage the cylinder.
If accessible, apply lock-specific de-icer or a small amount of cold-weather penetrating lubricant into the cylinder. Work the key gently to distribute it; don’t twist hard.
| Symptom | Safe response | Security check |
|---|---|---|
| Icing | Warm key and lock | Keep key controlled |
| Stuck | Apply de-icer | Don’t force cylinder |
| Freed | Clear grit; use low-residue dry-weather lubricant | Confirm lock engages |
| Recurs | Consider weather-resistant cylinder; store key warm | Replace assembly if still stuck |
For recurring freeze-ups, choose a weather-resistant coupler cylinder. If de-icing doesn’t restore movement, stop; repeated attempts risk damage.
Assemblies swap out, so replace the assembly to protect coupling.
Lubricate Locks Seasonally
A clean, well-lubricated lock is less likely to bind when you need it. You should clean dirt and grit from the gooseneck coupler lock and safety-chain lock fittings every few months. Remove each lock, check for rust spots or worn seals, and dry it before applying lubricant.
Use a dry-film or lock-safe product on moving parts and the keyway or lock body, where applicable. Skip heavy grease, especially on cast-iron coupler locks; it can trap grime and make tumblers stick. Reinstall each lock and check that it fits snugly over the receiving tube without gaps.
A loose fit can give thieves leverage. After winter exposure to road salt or cold, repeat the check: test each key and confirm chain anchors and pins seat fully without binding.
Conclusion
When you park or unhitch your gooseneck trailer, layer your defenses: choose a compatible coupler lock, secure the safety chains, chock the wheels, lower the trailer, and add a wheel boot. Check every lock’s engagement before you leave, and keep spare keys and basic tools accessible.
If a cylinder freezes, repair it before relying on the lock; lubricate locks seasonally to prevent sticking. A careful final check helps protect your trailer and keeps it ready for your next trip.